Are you considering installing solar panels for your 150 m² home and wondering about the cost? It’s an excellent idea to reduce your electricity bills and contribute to the energy transition. However, the cost of such an installation can vary considerably. This article guides you through the different aspects to consider to accurately estimate the budget for your solar panel project for a 150 m² home.
Key Takeaways
- The cost of a solar installation for a 150 m² home depends primarily on your actual electricity consumption, not just the size of your home. Therefore, your energy needs must be assessed first.
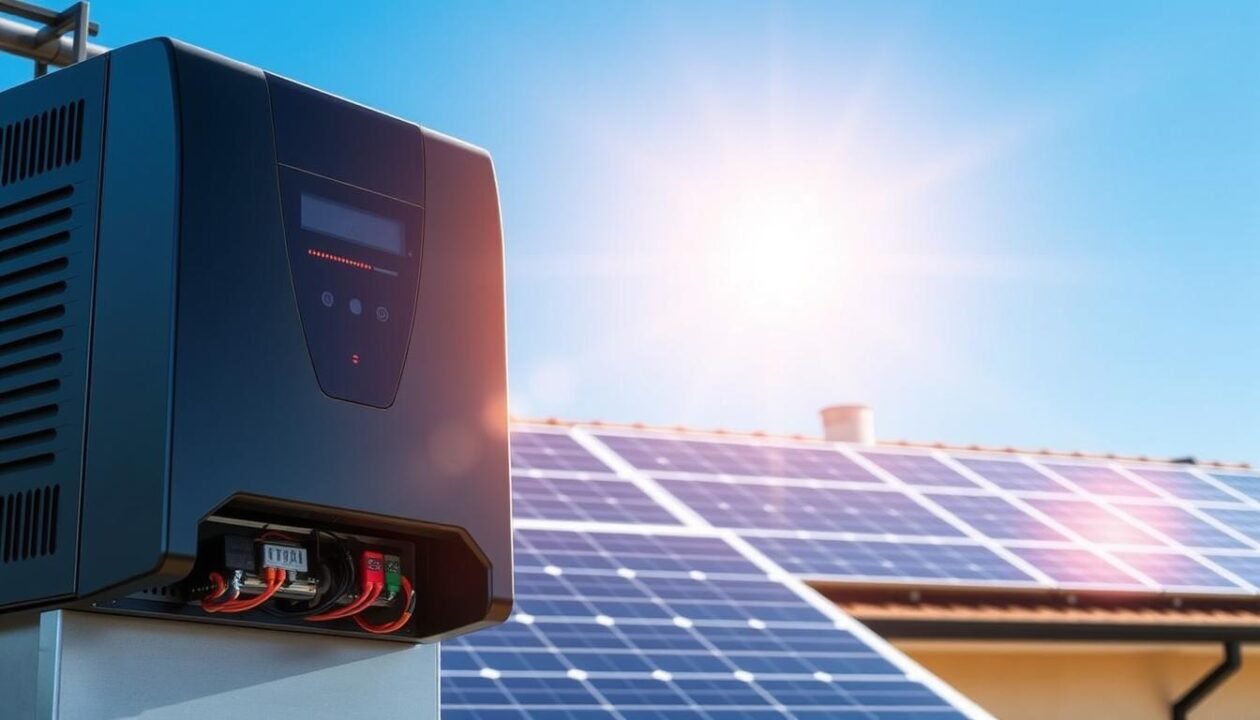
- Several factors influence the total price: the power and type of panels chosen (monocrystalline, polycrystalline), the quality of ancillary equipment such as the inverter, and the installation costs by the installer.
- The number of panels required varies depending on their individual power output. More powerful panels mean fewer panels need to be installed, optimising roof space.
- It is important to be wary of offers that seem too good to be true. A personalised quote, established after a technical visit, is essential to obtain a fair price tailored to your needs.
- The final budget can be reduced thanks to government aid and reduced VAT (under certain conditions). Long-term profitability will depend on your consumption, the price of electricity, and your installation’s production.
Understanding the Cost of Solar Panels for a 150m² Home
When thinking about the cost of a solar installation for a 150m² home, it’s easy to assume that the size of the house is the main factor. But in reality, it’s a bit more complex than that. What really matters is your annual electricity consumption. A 150m² house in a cold region heated by electricity will not have the same needs as an identical house in the south, heated by gas. Therefore, your energy needs must be clearly identified first.
Analysis of Factors Influencing Energy Consumption
A household’s electricity consumption depends on many things. The number of people living there, of course, but also their habits. Do you use a lot of electrical appliances? Is your heating and hot water system energy-intensive? The insulation of the house also plays a huge role. A well-insulated house will naturally consume less than a house that lets in cold or heat.
Determining the Required Solar Installation Power
Once we have an idea of your consumption, we can determine the power of the solar installation you need. We often talk in kilowatt-hours (kWh) for consumption and in kilowatt-peak (kWp) for panel power. For a 150m² house, installations ranging from 3 to 9 kWp are often seen, but this can vary. The right balance must be found to cover your needs without unnecessarily oversizing the installation.
Estimating Electricity Consumption for a 150m² House
To give you a more precise idea, here are some figures. A 150m² house can consume between 10,000 and 20,000 kWh per year, or even more if it is poorly insulated or if heating is electric. It is therefore essential to look at your old electricity bills to get a reliable estimate. This is the basis for calculating how many panels you will need and what the overall cost will be.
Sizing and Number of Solar Panels Required
Once you have a clear idea of your annual electricity consumption, the next step is to determine the total power of the solar installation needed. For a 150m² house, this power can vary considerably depending on your consumption habits and your objectives (partial or total self-consumption, selling surplus).
Calculating the Number of Solar Panels to Install
The calculation of the number of solar panels is directly linked to the total desired power and the individual power of each panel. Generally, a standard photovoltaic solar panel has a power of around 400 Wp (Watts-peak). To obtain the total power of your installation (expressed in kWp), you multiply the power of one panel by the total number of panels.
Here’s how to proceed:
- Determine your annual consumption in kWh. This is the essential starting point.
- Estimate the required solar power. This will depend on your consumption and the sunshine in your region.
- Choose the panel power. Current models are often around 400 Wp.
- Calculate the number of panels. Divide the total desired power (in Wp) by the power of one panel (in Wp).
For example, for a 6 kWp installation (i.e., 6000 Wp) with 400 Wp panels, you would need 6000 / 400 = 15 panels.
Optimising Solar Panel Surface Area for a 150m² House
The surface area occupied by solar panels is an important factor, especially if your roof has constraints. A solar panel measures on average 1.65 m² (approximately 1m x 1.65m). Thus, for a 6 kWp installation requiring 15 panels, you would need a surface area of approximately 15 * 1.65 m² = 24.75 m². It is therefore crucial to accurately measure the available surface area on your roof, taking into account any obstacles such as chimneys, roof windows, or shaded areas.
A well-oriented roof, ideally facing south and without shade, is a major asset for maximising energy production and thus potentially reducing the number of panels needed to achieve your consumption goals.
Solar Power for a 150m² House: 3, 6, 9 or 12 kW?
The choice of your solar installation’s power will primarily depend on your electricity consumption. A 150m² house can have very varied needs. Here are some benchmarks:
- 3 kWp: Often sufficient for moderate consumption, focused on essential appliances and sensible use.
- 6 kWp: A common power for a family with standard household appliances, regular use of computers and televisions.
- 9 kWp: Suitable for more energy-intensive households, using, for example, electric heaters, heat pumps, or having many connected devices.
- 12 kWp and more: For very large houses, passive houses, or those seeking almost total energy independence, potentially including charging an electric vehicle.
It is recommended to consult a professional for an accurate estimate based on your electricity bills and lifestyle. A good estimate of your needs is the first step towards a successful project, and you can use an online simulator for this purpose.
Budget Estimation for a Photovoltaic Installation
Average Cost of Solar Panels for a 150 m² House
The budget to plan for a solar installation on a 150 m² house is not a fixed sum. It varies depending on several elements, particularly the total power desired for your system. For example, a 6 kWp installation, a common power for this type of surface area, generally costs between €9,000 and €12,000. This amount includes the panels themselves, the inverter, the mounting system, professional installation, and administrative procedures. It is important to note that these figures are averages and may change.
Criteria Influencing the Price of Solar Panels
Several factors determine the final cost of your solar installation. The total power of the installation (expressed in kWp) is the main criterion. The more electricity you want to produce, the higher the required power, and therefore the cost. The surface area of your roof and its complexity (presence of chimneys, roof windows) can also influence the installation price. The type of panels chosen (monocrystalline, polycrystalline) and their brand have a direct impact on the price. Finally, the choice between an overlay installation (panels placed on the existing roof) or building-integrated photovoltaics (panels replacing the roofing) modifies the budget, with integration often being more expensive. For a 150 m² house, the total cost can range from €6,000 to €24,000 depending on the target power (3 to 9 kWp) and the options chosen. Using an RGE certified installer is essential to benefit from government aid.
Price Variability According to Panel Power and Technology
The power of your solar installation is a determining factor in budget calculation. For a 150 m² house, several power levels are possible, each having a different impact on the cost. For example, a 3 kWp installation, often sufficient for moderate consumption, could cost between €6,000 and €10,500 before aid deductions. A more substantial 9 kWp installation, for higher needs, will see its price increase significantly. The choice of panel technology also plays a role. Monocrystalline panels, generally more efficient and aesthetically pleasing, are often more expensive than polycrystalline panels. It is therefore essential to clearly define your energy needs to choose the most suitable power and technology for your budget and consumption. A personalised simulation is the best way to get an accurate estimate.
It is essential to request several detailed quotes to compare offers and ensure that all elements (equipment, installation, guarantees) are clearly specified. Don’t forget to check if the installer is RGE certified, a necessary condition to access certain financial aid.
Here is an overview of average costs for different installation powers (indicative prices before aid):
- 3 kWp: €6,000 – €10,500
- 6 kWp: €9,000 – €12,000
- 9 kWp: €12,000 – €15,000
- 12 kWp: €15,000 – €20,000
These figures can be reduced thanks to the various available aids, such as the self-consumption bonus or the reduced VAT rate. It is therefore advisable to find out about the current schemes to optimise the cost of your project.
Types of Solar Panels and Their Impact on Cost
Photovoltaic Panels: Characteristics and Prices
When we talk about solar panels for a house, we most often think of photovoltaic panels. Their role is to convert sunlight into electricity. There are several types, and their prices are not the same. Monocrystalline panels, for example, are made from a single silicon crystal. They are a bit more expensive, say between €150 and €300 per panel, but they are also more efficient, especially when it’s not scorching hot. They take up less space for the same amount of electricity produced. On the other hand, polycrystalline panels are a bit cheaper, often between €100 and €200 per panel. They are made from several silicon crystals melted together. Their efficiency is a bit lower, but they remain an interesting option for those on a tighter budget or with a large roof area available.
Aerovoltaic and Hybrid Panels: A Dual Function
There are also panels that do more than one thing. Aerovoltaic panels, for example, produce electricity, but they also capture solar heat to warm the air in your home. This is a dual function that can be interesting, but their cost is higher, often between €500 and €1,500 per panel. Hybrid panels go even further: they produce electricity and also heat your home’s water. Like aerovoltaic panels, they are more expensive, falling within the same price range (€500 to €1,500). These panels are a more complete solution but require a more significant initial investment.
Panel Efficiency: A Key Cost Factor
Efficiency is a panel’s ability to convert sunlight into electricity. The higher a panel’s efficiency, the more effective it is. And more effective often means more expensive. A panel with 20% efficiency will be more costly than a panel with 17% efficiency, for example. But be careful, higher efficiency means you will need fewer panels to achieve the same power output. This can be an advantage if your roof is not very large.
Here’s a small table to clarify:
| Panel Type | Indicative Price per Panel | Average Efficiency | Advantages |
|---|---|---|---|
| Monocrystalline | €150 – €300 | 18% – 22% | High efficiency, takes up less space |
| Polycrystalline | €100 – €200 | 15% – 18% | Good value for money, more affordable |
| Aerovoltaic/Hybrid | €500 – €1,500 | Variable | Dual function (electricity + heat/water) |
The choice of solar panel type should not be based solely on the purchase price. You need to consider the power you need, the available roof space, and the product’s lifespan. A slightly more expensive but more efficient panel can prove more profitable in the long run.
Solar Panel Installation Methods on the Roof
Once you have determined the necessary power for your 150m² home and the number of panels required, how these panels are fixed to your roof becomes an important consideration. The choice of installation method can influence the aesthetics, performance, and overall cost of your solar project. There are mainly two approaches: overlay and building integration.
Overlay: An Economical Solution
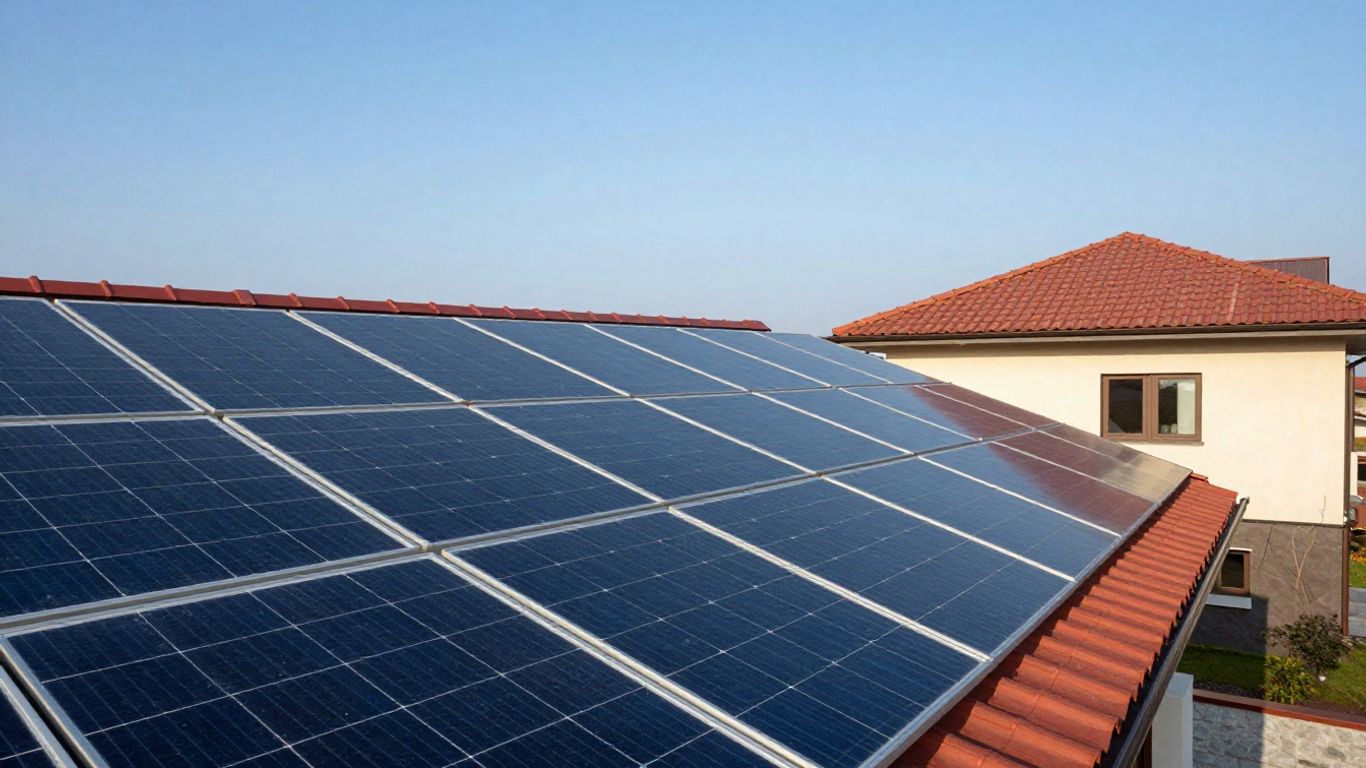
Overlay involves installing solar panels directly onto the existing covering of your roof. Rails are fixed to the roof structure, and then the panels are attached to them. This is often the simplest and quickest method to implement. It has several advantages:
- Reduced Cost: Less modification work on the roof is required, which reduces labour and ancillary materials.
- Flexibility: Allows for adjustment of the panel tilt and orientation to optimise solar capture, even if the roof is not ideally positioned.
- Easier Maintenance: The space between the panels and the covering allows for good ventilation and facilitates access for potential repairs.
- Lower Waterproofing Risks: The original covering remains intact, limiting the risk of leaks if the installation is carried out correctly.
This technique is particularly suitable if your roof is in good condition and you are looking for an effective solution without significantly altering the original appearance of your home. Most roofs in France are compatible with this type of installation [229f].
Building Integration: A More Complex Approach
Building integration (IAB) goes beyond simple installation. Here, the solar panels directly replace traditional roofing elements (tiles, slates). They become an integral part of the roof. This method offers a very neat aesthetic finish, giving the impression that the building was designed from the outset with solar energy production. However, IAB presents challenges:
- Increased Complexity: Requires specific skills to ensure waterproofing and proper integration of the panels.
- Higher Cost: The work is more extensive, often involving the removal of the old covering and structural adaptations.
- Less Flexibility: The tilt and orientation are dictated by the roof structure, limiting optimisation possibilities.
- Potentially More Difficult Maintenance: Access to components may be more restricted.
IAB is an option to consider if aesthetics are a top priority and your budget allows. It is essential to use qualified professionals for this type of installation.
Installation Cost: Overlay vs. Building Integration
It is clear that the installation cost varies significantly between these two methods. Overlay is generally less expensive, as it requires less roof modification work. Building integration, due to its complexity and the specific materials required, represents a more substantial investment. Prices for a solar panel installation for a 150m² house can vary, and the installation method is one of the factors influencing this budget [16d7]. It is therefore essential to request detailed quotes for each option to precisely compare costs and expected benefits.
The choice between overlay and building integration must be carefully considered, weighing the financial, aesthetic, and technical aspects. A thorough analysis of your roof and your priorities will guide you to the most suitable solution.
Technical and Regulatory Aspects to Consider
Before embarking on the installation of solar panels for your 150m² home, it is important to look closely at certain technical points and the regulations in force. These elements can impact the feasibility, performance, and cost of your project.
The Importance of Panel Orientation and Tilt
The placement of your solar panels on the roof is a determining factor for their performance. Ideally, a south-facing orientation is sought to capture the maximum solar radiation throughout the day. However, other orientations such as south-east or south-west can also be very effective, especially if they help avoid shading.
The tilt of the panels also plays a role. In mainland France, a tilt between 30° and 35° is generally optimal for maximum annual production. However, this tilt can be adjusted according to latitude and the seasonality of your consumption. For example, a lower tilt can favour summer production, while a steeper tilt can improve winter performance.
It is essential to have a personalised study carried out by a professional to determine the most suitable orientation and tilt for your geographical location and your energy needs.
Administrative Procedures and Grid Connection
The installation of photovoltaic solar panels involves several administrative procedures. The first step generally consists of submitting a prior declaration of works to your local council, especially if the installation modifies the external appearance of your home. This procedure is often simplified for roof installations in overlay.
Next, if you wish to sell the surplus of your electricity production (principle of self-consumption with surplus sale) or all of your production, you will need to apply for grid connection from Enedis. This application defines the technical and financial terms for connecting your installation to the public electricity distribution network. The power of your installation will influence the type of application to be submitted.
- Prior Declaration of Works: to be submitted to the local council.
- Grid Connection Application: to be made to Enedis.
- Purchase Contract: if you opt for selling your electricity.
Standards and Certifications for Compliant Installation
To ensure the safety, performance, and durability of your solar installation, it is imperative to comply with current standards and ensure that the equipment used is certified. Solar panels must, in particular, comply with international (such as IEC) and European standards. Mounting structures must be robust and adapted to local climatic conditions.
Choosing an RGE (Reconnu Garant de l’Environnement) certified installer is a guarantee of quality. This certification attests that the company adheres to strict quality and advice specifications. It is often a necessary condition to benefit from certain government financial aid.
Here are some points to check regarding standards and certifications:
- Solar Panel Certification: Check for CE markings and IEC certifications (e.g., IEC 61215 for performance and IEC 61730 for safety).
- Inverter Certification: Ensure the inverter complies with electrical safety standards and grid requirements.
- Installer Qualification: Prioritise RGE certified professionals, ideally specialising in photovoltaics.
Profitability and Return on Investment of a Solar Installation
Is it Really Profitable to Install Photovoltaic Solar Panels?
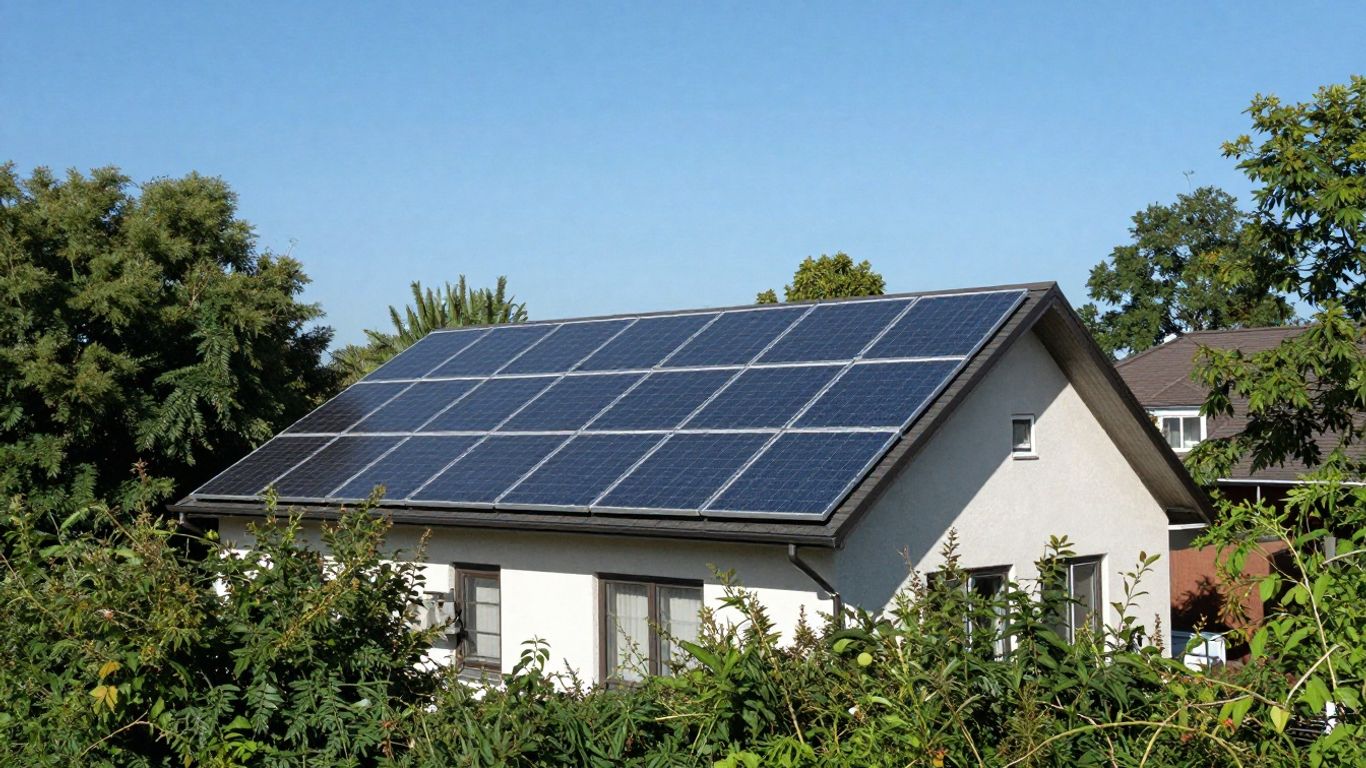
Investing in solar panels means looking at the long term. The question of profitability is therefore at the heart of any decision. In general, a well-designed installation tailored to your consumption is indeed profitable. The calculation of the return on investment (or payback period) is key to assessing the financial viability of your project. This is the time it takes for the savings made and potential income to offset the initial cost of the installation. For a solar installation, this period is often between 5 and 10 years in France, a period during which you start to truly benefit from your system. The goal is to recoup your investment while enjoying greener, cheaper energy for many years.
Lifespan of Solar Panels and Profitability
The longevity of solar panels is a major asset for their profitability. Most manufacturers guarantee their panels for 25 to 30 years, or even more. Throughout this period, they continue to produce electricity, thus reducing your energy bill. The annual gain depends on several factors: the power of your installation, the sunshine in your region, the orientation and tilt of your roof, and the price of electricity. For example, a 4.8 kWp installation could produce around 4080 kWh per year. If the price per kWh is €0.30, this represents a gross annual saving of €1224. Of course, this figure is an estimate and can vary. The evolution of electricity prices is an important factor: if tariffs increase, your annual savings will be all the greater, thus accelerating the return on investment. It is also possible to sell the surplus electricity that is not consumed, which adds potential income to your profitability calculation. Remember to check the lifetime warranty conditions offered by some installers for long-term peace of mind. Maintenance, although minimal, can also play a role. Simple regular cleaning, especially if you are in a city or near the sea, can maintain optimal performance and extend the lifespan of your panels. For a 150m² house, a well-sized installation can significantly impact your annual energy expenses, making the project all the more interesting. Self-consumption, i.e., directly consuming the electricity you produce, is the most effective strategy for maximising gains. Investing in solar panels is therefore a step that allows you to « lock in » your electricity costs for several decades, offering appreciable financial stability. Available financial aid, such as the self-consumption bonus, can also reduce the initial cost and shorten the payback period, making the project even more accessible. Getting a personalised quote is the first step to accurately assessing the profitability of your project.
Calculating the Return on Investment for Your Solar Project
To calculate the return on investment, you first need to estimate the annual production of your panels. This depends on their power (in kWp), local sunshine, and the installation (orientation, tilt). A loss factor is often applied to obtain a realistic estimate. Then, multiply this production by the current price of electricity to get the gross annual gain. Don’t forget to deduct any maintenance costs and take into account the aid received, such as the self-consumption bonus, which reduces the initial cost. The payback period is obtained by dividing the total installation cost (after aid deduction) by the estimated net annual gain. For example, for an installation costing €8434 after aid and generating €1006 in annual savings, the return on investment would be approximately 8.4 years. It is also important to consider the future evolution of electricity prices and the lifespan of the panels for a complete picture. Good planning can help you maximise the profitability of your solar project. Solar installations are profitable, with an average return on investment of 8 to 10 years.
Here is a simplified calculation example:
| Expense/Income Item | Amount (€) |
|---|---|
| Total Installation Cost (after aid) | 8,434 |
| Estimated Annual Savings | 1,006 |
| Payback Period (years) | 8.4 |
It is important to note that this calculation is an estimate. Actual conditions may vary.
Financial Aid to Reduce the Price of Solar Panels
Installing solar panels represents an initial investment, but several aid schemes exist to reduce this cost. It is therefore wise to find out about the various subsidies and credits available before starting your project. This aid can significantly improve the profitability of your installation.
Government Aid for Solar Installation
The government has implemented several measures to encourage the adoption of solar energy. The best known is undoubtedly the self-consumption bonus. It is paid in one go and its amount depends on the power of your installation. For systems of 3 kWp or less, you also benefit from a reduced VAT rate of 10%, compared to the usual 20%. These measures aim to make solar energy more accessible to all households.
Here is an overview of the main aids:
- Self-consumption Bonus: Paid by EDF OA for self-consumption installations with surplus sale. Its amount is degressive and revised quarterly.
- Obligation to Purchase (OA): EDF OA undertakes to buy back the surplus electricity that you do not consume, at a rate fixed by contract for 20 years.
- Reduced VAT: A rate of 10% applies to installations of 3 kWp or less, helping to reduce the overall cost.
It is important to note that to benefit from most of this aid, it is essential to use an RGE (Reconnu Garant de l’Environnement) certified professional. This certification attests to the quality of the work carried out and the installer’s expertise. You can find information on RGE installers on the official France Rénov website.
The Self-Consumption Bonus and the Obligation to Purchase
The self-consumption bonus is direct financial aid aimed at supporting individuals who produce their own electricity using solar panels. It is paid once, after installation, and its amount is calculated based on the total power of your photovoltaic installation. The amounts are degressive and updated quarterly by the government. For example, for a 3 kWp installation, the bonus can be up to €240.
The obligation to purchase, on the other hand, concerns the surplus electricity that your installation produces but that you do not consume immediately. EDF OA is obliged to buy back this electricity at a guaranteed rate for 20 years. This rate is set in advance and ensures you a long-term supplementary income, making your investment even more attractive. The purchase price varies according to the installation’s power, ranging from €0/kWh to 12.95 c€/kWh.
The Eco-Friendly Zero-Interest Loan to Finance Your Work
In addition to direct aid, the eco-friendly zero-interest loan (éco-PTZ) is a particularly attractive financing scheme. It is a bank loan whose interest is fully covered by the government. This loan can finance energy renovation work, including the installation of solar panels, in your primary residence. It is accessible without income conditions for owner-occupiers or landlords, provided the property is over two years old. The amount of the éco-PTZ can go up to €50,000 [1c0d], which can cover a significant portion of the cost of your solar installation and associated work. It is an excellent option for spreading the cost of your project over several years without paying interest.
Precautions When Purchasing Solar Panels
Purchasing solar panels represents a significant investment for your home. It is therefore essential to remain vigilant to avoid unpleasant surprises and ensure you get a high-performance and reliable installation. Given the enthusiasm for renewable energy, some sales practices can be misleading. It is important to rely on recognised professionals and compare several quotes before making a decision.
How to Obtain a Personalised and Reliable Quote
Before committing, the first step is to obtain detailed quotes. A personalised quote should accurately reflect your energy needs, the configuration of your roof (orientation, tilt, absence of shade), and the necessary solar installation power. It should clearly state the proposed equipment (brand, model, panel power, inverter type), the total installation cost, the guarantees offered, and the work completion deadlines. Do not hesitate to ask for explanations on each cost item and the expected performance. A serious professional will take the time to answer all your questions and offer you a solution tailored to your specific situation. It is recommended to request at least three quotes from different installers to compare offers and prices. This will give you a clearer picture of the market and help you identify the most advantageous proposal.
Beware of Offers That Seem Too Good to Be True
Be particularly attentive to proposals that seem too good to be true. Derisory prices for the entire installation, or promises of free solar panels, are often indicators of dubious practices. These offers may hide consumer loans with high interest rates, or less efficient systems that will not meet your real needs. Similarly, an exceptionally high announced power output, with guarantees of total autonomy or exorbitant financial gains, should alert you. Oversizing is rarely profitable in the long term and represents an unnecessary cost. It is important to focus on your actual electricity consumption needs for a balanced project. Also beware of overly simplistic discussions about immediate profitability; installing solar panels is a long-term investment that requires in-depth analysis [4272].
The Importance of Choosing an RGE Professional
To ensure the quality of your installation and benefit from available financial aid, it is strongly recommended to use an RGE (Reconnu Garant de l’Environnement) certified professional. This qualification attests that the company meets strict quality criteria for energy efficiency work. Using an RGE installer is often a prerequisite for qualifying for certain government subsidies, such as the eco-friendly zero-interest loan or the self-consumption bonus. Ensure that the professional you choose holds this certification and that it is still valid. You can check this information on the official qualification body’s website.
Financing Solutions for Your Solar Project
Investing in a solar installation represents a significant financial commitment. Fortunately, several schemes exist to make this project more accessible and optimise your budget. It is essential to fully understand the different financing options and available aid to realise your energy transition.
Buying or Leasing Solar Panels: Which Option to Choose?
Direct purchase of solar panels involves a substantial initial investment. However, it allows you to fully benefit from the income generated by selling surplus electricity and any investment aid. The lifespan of the panels, often over 25 years, ensures long-term profitability.
An increasingly popular alternative is leasing with an option to buy (LOA). This option allows you to install a photovoltaic system without bearing the full initial cost. You pay fixed monthly instalments, often lower than what direct purchase would cost, and have the option to acquire the equipment at an agreed price at the end of the contract. This solution makes solar energy accessible to more people, even with a more limited budget. The amount of the monthly instalments will depend on the installation’s power and the complexity of its setup.
Bank Financing and Solar Energy Loans
To finance the purchase of your installation, several banking options are available. Loans dedicated to energy renovation work, including solar panel installation, are common. Some institutions offer green loans or zero-interest loans (Éco-PTZ) under certain conditions, reducing the financing cost. It is advisable to compare offers from several banks to find the most advantageous interest rate. Don’t forget to consider processing fees and associated insurance.
Optimising Your Budget with Available Aid
The government and local authorities offer various aids to encourage the installation of solar panels. The self-consumption bonus, for example, is paid in one go for installations under 9 kWp. Its amount varies according to the power of your system. Furthermore, a reduced VAT rate of 10% applies to installations of 3 kWp or less, compared to 20% for more powerful systems. These schemes aim to significantly reduce the remaining cost. It is essential to find out about the rates updated quarterly by the government to accurately estimate the amount of this aid. For example, initiatives like the Greener Homes Initiative can offer substantial grants for energy-efficient renovations.
It is always wise to compare several quotes from qualified installers. Ensure that each quote clearly details the cost of the panels, inverter, wiring, installation, as well as any included administrative procedures. An offer that seems too good to be true deserves particular attention to avoid any unpleasant surprises.
In Summary: Your Solar Project for a 150m² Home
So, we’ve covered the topic of solar panels for a 150m² home. As you’ve seen, it’s not easy to give an exact figure; it really depends on your own consumption, your habits, in short, on many things. We’ve seen that the size of the house isn’t the only factor that matters. You need to look closely at how much you consume, what type of panels you choose, and of course, the installation cost. Don’t forget to be wary of offers that seem too good to be true, as they can hide surprises. The best approach is really to request personalised quotes. This will give you a precise idea of the budget and allow you to compare them at your leisure. Switching to solar is an investment, but it can be very beneficial for your wallet and for the planet. Think about it seriously!
Frequently Asked Questions
What is the typical electricity consumption of a 150 m² house?
The consumption of a 150 m² house can vary greatly. It depends on the number of people living there, their habits (how they use electricity for heating, washing, using appliances), and the insulation of the house. A well-insulated house where people are careful not to waste will consume less than a poorly insulated house with many electrical appliances.
How many solar panels are needed for a 150 m² house?
The number of solar panels is not directly linked to the size of the house, but rather to the amount of electricity you consume. For a 150 m² house, 7 to 14 panels are often installed. This depends on the power of each panel and your consumption. We generally talk about a 3 to 9 kWp installation.
What is the average price of a solar installation for a 150 m² house?
The price of a solar installation for a 150 m² house can range from €7,000 to over €22,000, including installation. This price changes depending on the power you need, the type of panels, and the cost of installation by professionals.
What causes the price of solar panels to vary?
Several factors influence the price: the total power of the installation (in kWp), the number of panels, the type of panel technology (monocrystalline, polycrystalline…), the quality of other equipment (such as the inverter), and the cost of labour for installation.
Is it possible to reduce the cost of a solar installation?
Yes, there are government aids, such as the self-consumption bonus or the eco-friendly zero-interest loan, which can help finance part of the installation. In addition, VAT can be reduced in certain cases. Choosing an RGE certified installer is often a condition for benefiting from these aids.
What is the lifespan of solar panels?
Solar panels are designed to last a long time. Generally, their lifespan is estimated between 30 and 40 years. Even after this period, they often continue to produce electricity, but with a slightly lower efficiency.
Do I need to hire a professional to install solar panels?
It is strongly recommended to hire a qualified professional, ideally RGE certified (Reconnu Garant de l’Environnement). They can accurately assess your needs, correctly size the installation, ensure professional installation, and assist you with administrative procedures. This also ensures the safety and performance of your installation.
How do I know if my roof is suitable for solar panels?
A professional can assess your roof. They will check its orientation (ideally south-facing), its tilt, its general condition, and whether there are any shaded areas (trees, neighbouring buildings). These elements are important for your panels to produce the maximum amount of electricity possible.